Case study - Jane's border
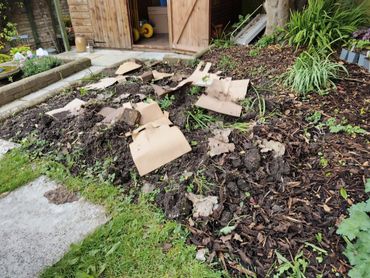
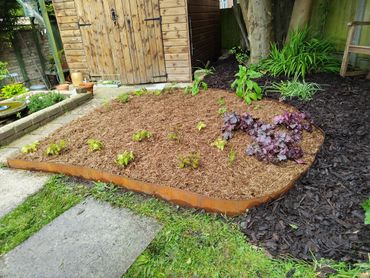
Before...
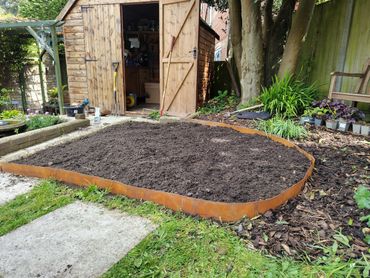
...and after!
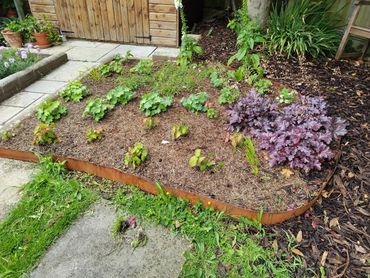
...and after!

In a beautifully designed and maintained garden, this area did not quite fit in any more. Previously lawn, then more a meadow it now needed to be made into a new and exciting border that fits in with the rest of the garden.
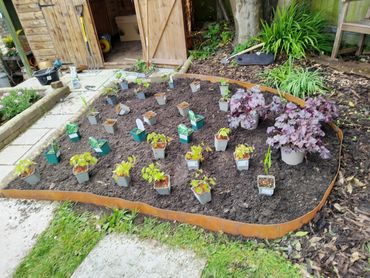
...and after!
...and after!
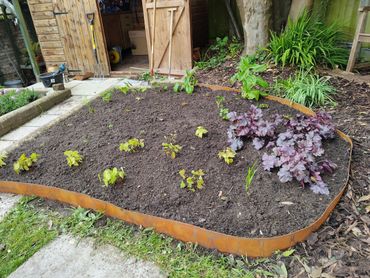
...and after!

Corten steel edging and a planting design to suit the semi shaded conditions, as well as to link to other borders in the garden have integrated this area into the rest of the garden and will give pleasure for years to come.
Jane's Border in pictures